You have confidential data that you need to share with your clients, you can’t send encrypted documents as the client does not have access to, or can’t install a decryption reader program. You can’t send a self-decrypting files via email as many internet services and company policies block attachments that contain Zip or Exe files. The answer is in the Cloud… Read on how to share your file with clients securely and easily.
For this Tutorial you will need access to Kruptos 2 Professional and the use of a a Free Dropbox account. If you already have a Dropbox account and have installed the app on your computer you can skip part 1 of the tutorial.
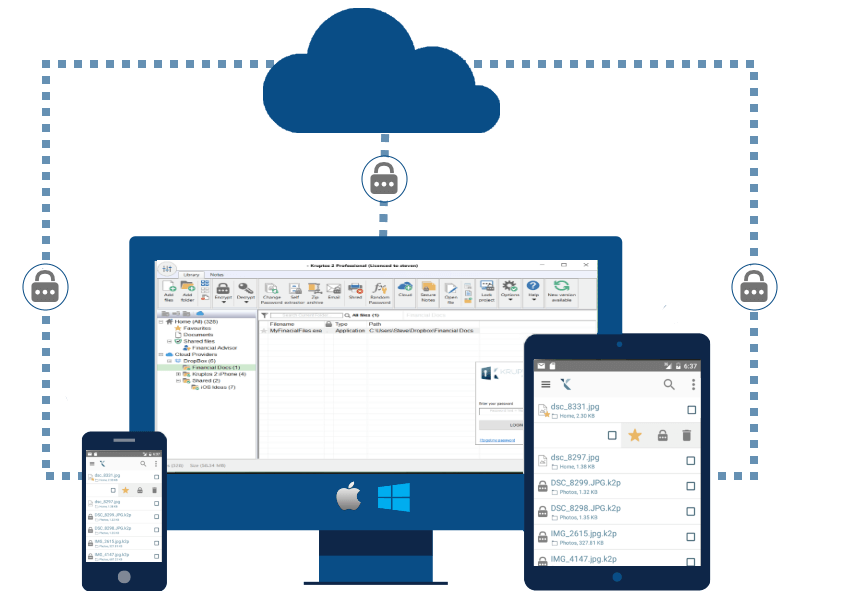
Part 1 : Setting up a cloud environment
- First (if you haven’t already got one), you’ll need to create a FREE Dropbox account from here
- Download and install the Dropbox Windows app
Part 2 : Creating your shared data file
- Login to your Kruptos 2 Library
- Select the files you would like to share
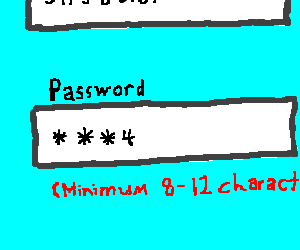
- Optional If you would like to use a different password to your login password you will need to set your library to use multiple password:
- Click Options then Password Settings
- Choose Multiple Passwords and click OK
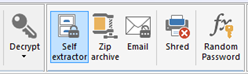
- Click the Self extractor button
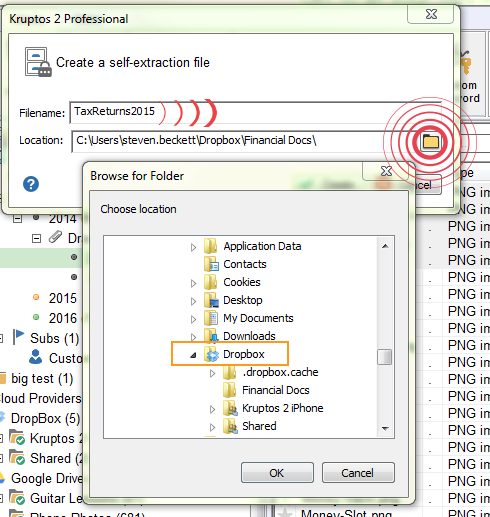
- Enter a name for the self-extracting file
- Click the location button and select your Dropbox folder then click Create
your self-extracting file will now be created in your Dropbox folder. For further details on self-extracting files see here
Part 3: Sharing your data
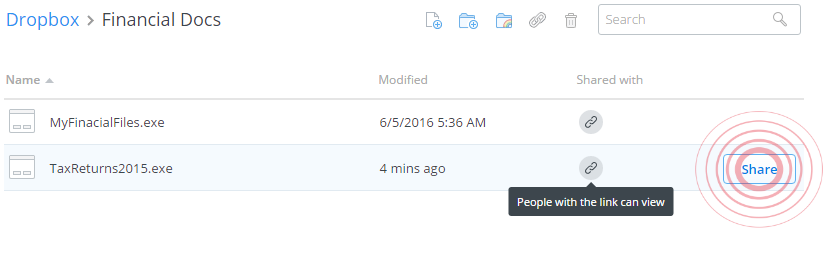
- Log into your Dropbox account
- Navigate to the shared data file you created in part 1 and click the Share button
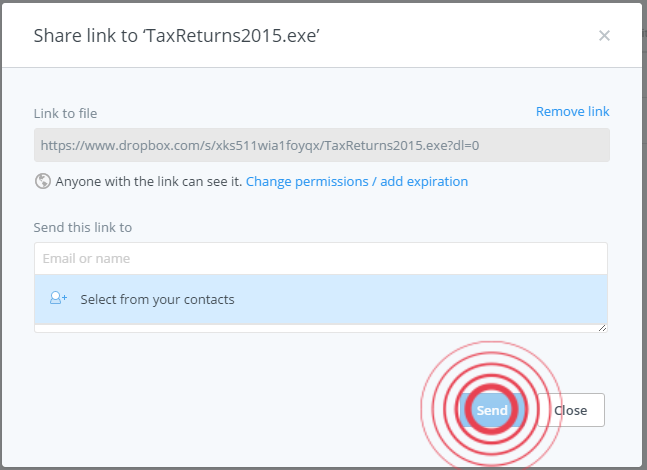
- Enter the email address of your client(s) and an option message then click Send
Your client will now receive an email from Dropbox informing them of the shared file (clients do not need a Dropbox account). You client will now need to:
- Download the shared file
- Open the file by double clicking
- Follow the on-screen instructions and enter the shared password
Your sensitive files will now be shared.
See also how to permanently delete files from your computer?